She sketched the princess in her sketchbook while I was busy in the kitchen. I didn’t even notice what she was drawing until it was all done.
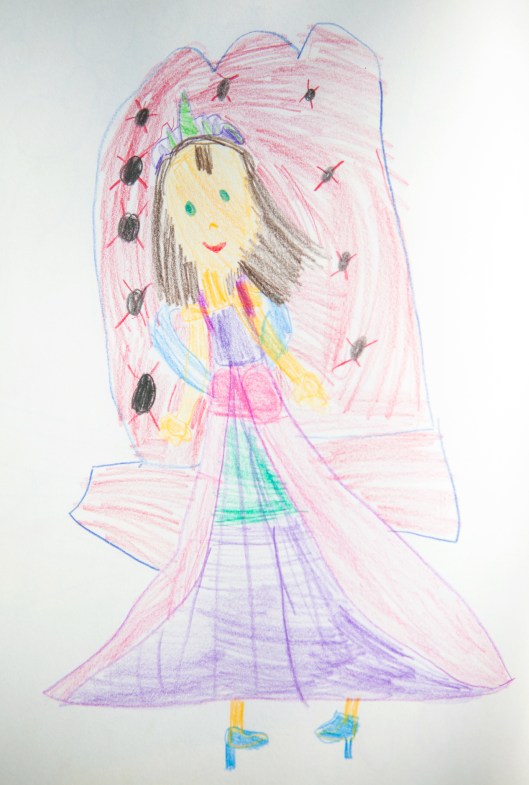
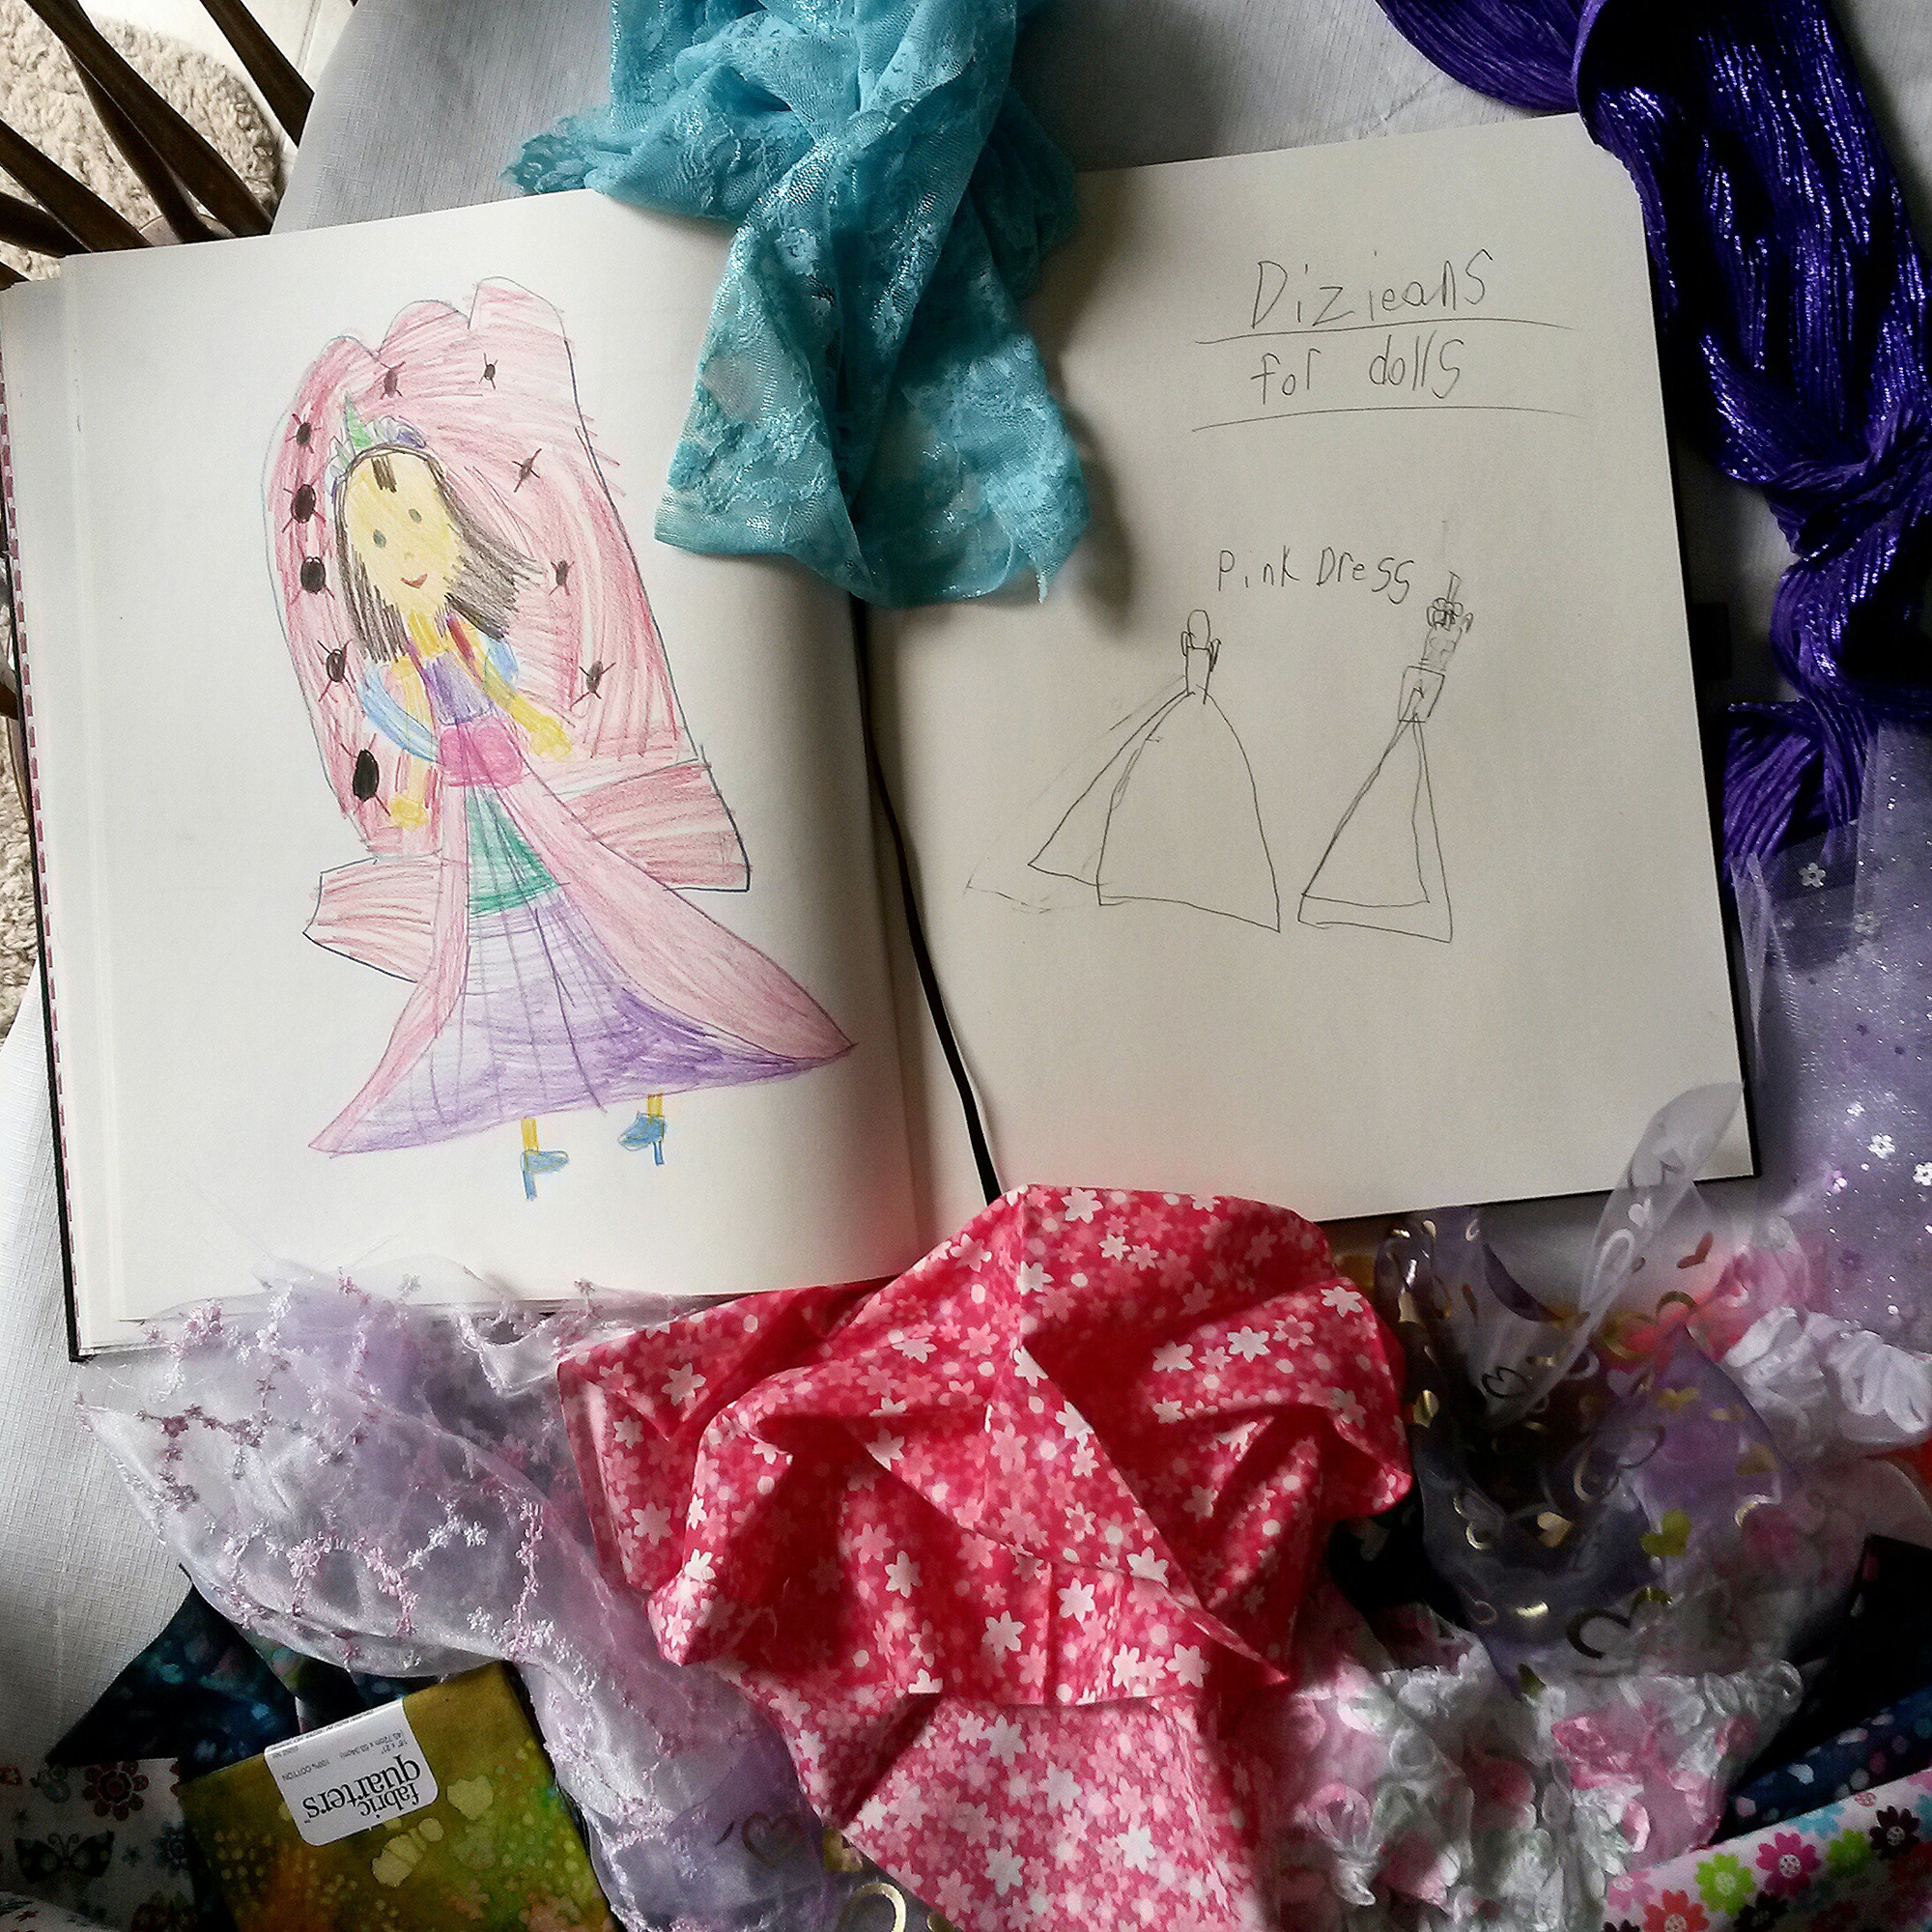
A Princess, by my seven year old granddaughter.
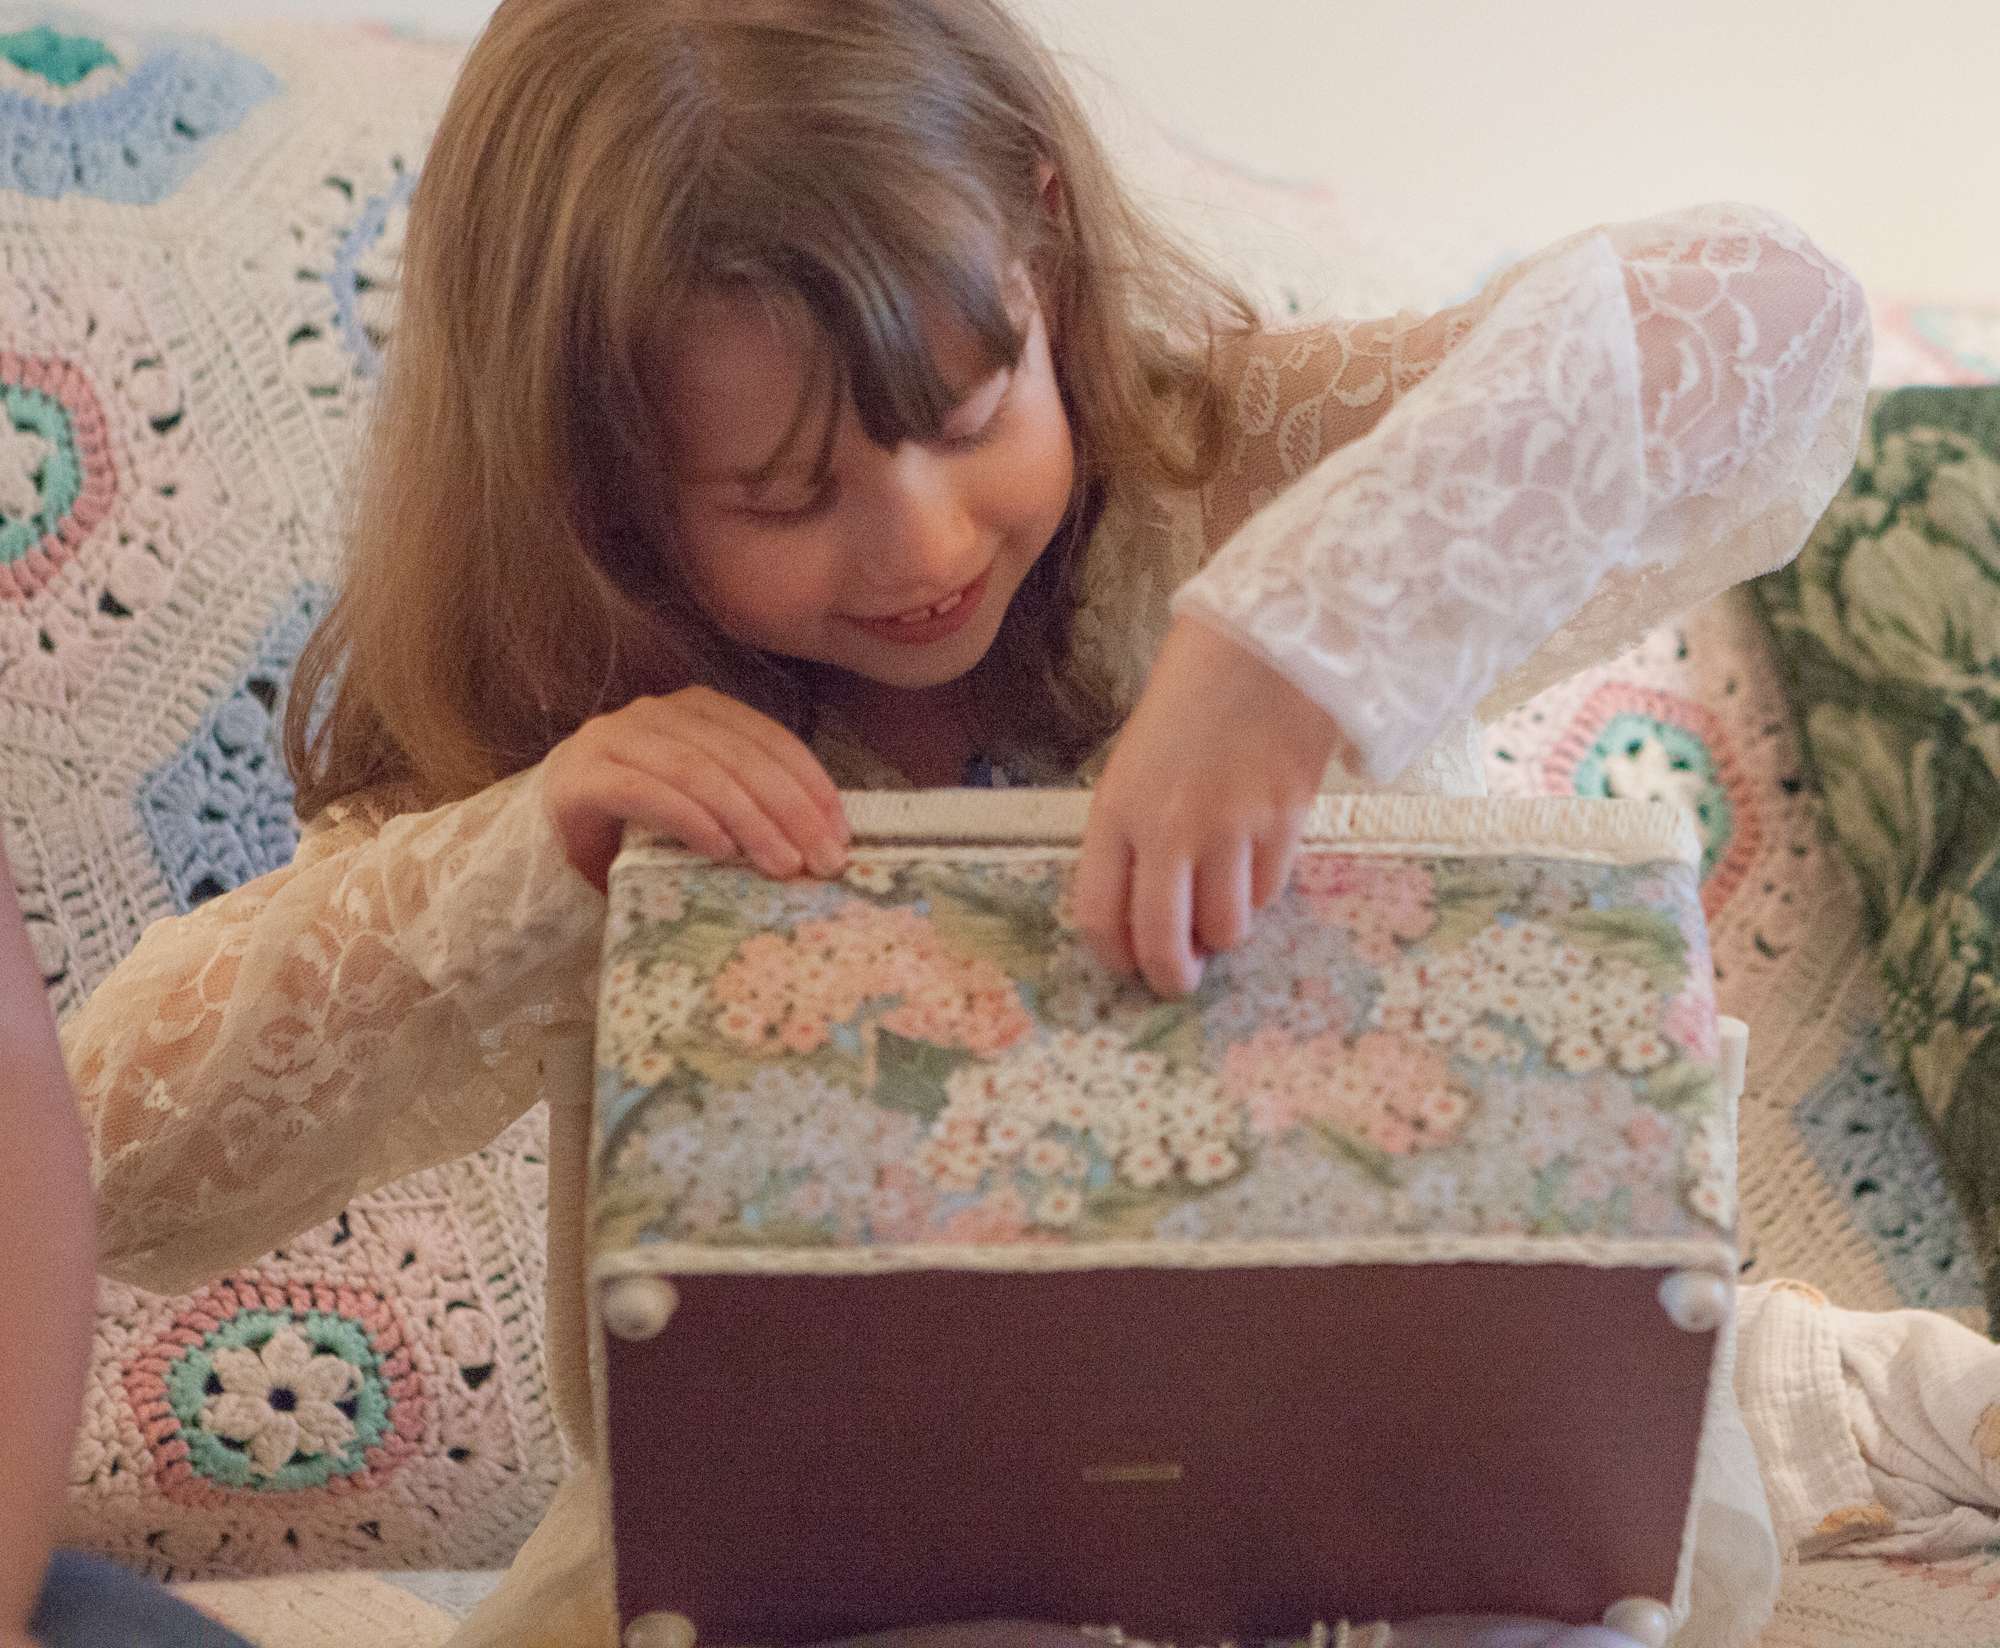
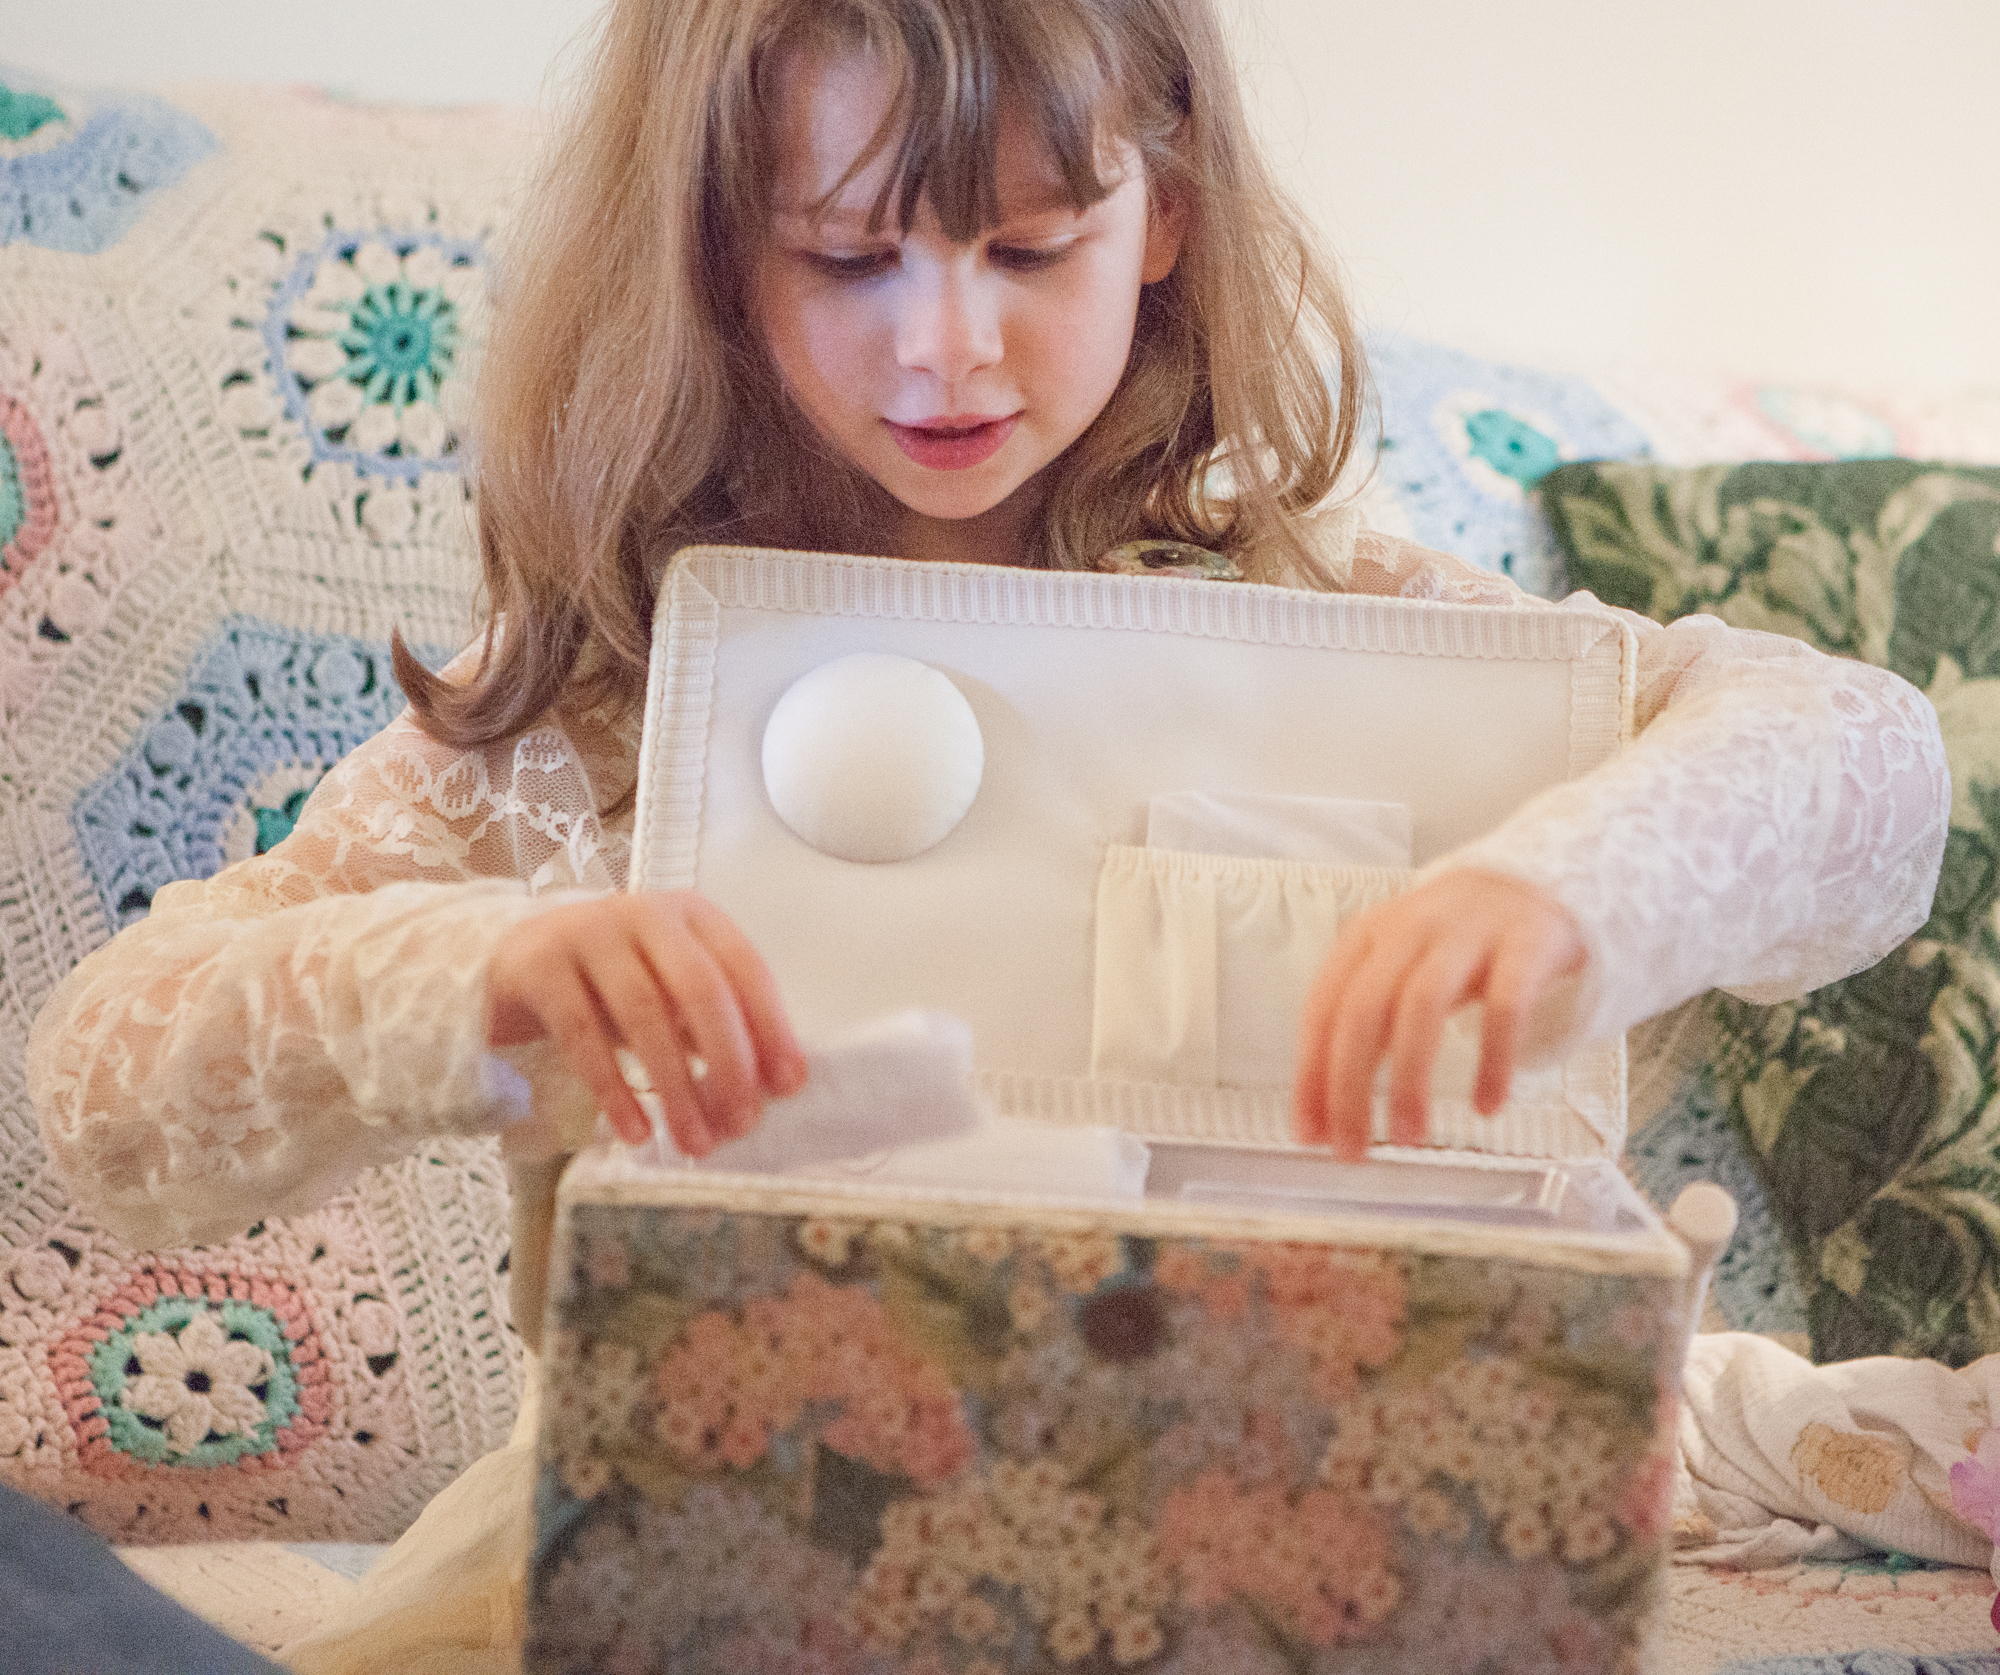
A couple weeks came and went and she turned seven. For her birthday, my mom and I got her a sewing basket filled with notions. She was thrilled with them!


My mom also got her a stash of amazing fabric. Oh the color! Oh the sparkles and sheers! She wanted to look at the fabric right then but the other party goers were waiting so we had to move on.

Fat quarters and quarter yards of lovely fabrics.
She visited again and we got out the sketchbook. For the first time I really looked at her drawing. What a splendid imagination she has! I was amazed at how much her sketch looked like her doll so I told her we would make the princess dress for her doll.
I asked her to explain the picture to me.
“The aqua thing that goes around her back is flat and sticks up. You know, like the things that queens have.” I had no idea.
“The skirt goes like this,” she gestured in the air. I couldn’t understand. I scrunched up fabric and said “With gathers? Like this?”
“No…” she slowly said. “But that’s ok if that’s how you have to make it. It will still be ok,” she said with a tiny sigh of resignation. She had high hopes in my skill but I wasn’t as confident.
We spread out the fabrics that her Great Grandma got her for her 7th birthday. What a surprise to see that so many of the fabrics matched the sketch! It was important that the colors and sheerness match so we dug through my bins of fabric too to find all the pieces.

Matching fabrics to make the Princess doll dress in her sketch.
We discussed the components of the dress and drew preliminary patterns. We planned how the dress would be constructed so the doll could still get it on and off, where to put snaps, which sheer pieces would be sewn together. That was complicated! She didn’t want a skirt and top, it HAD to be a dress.
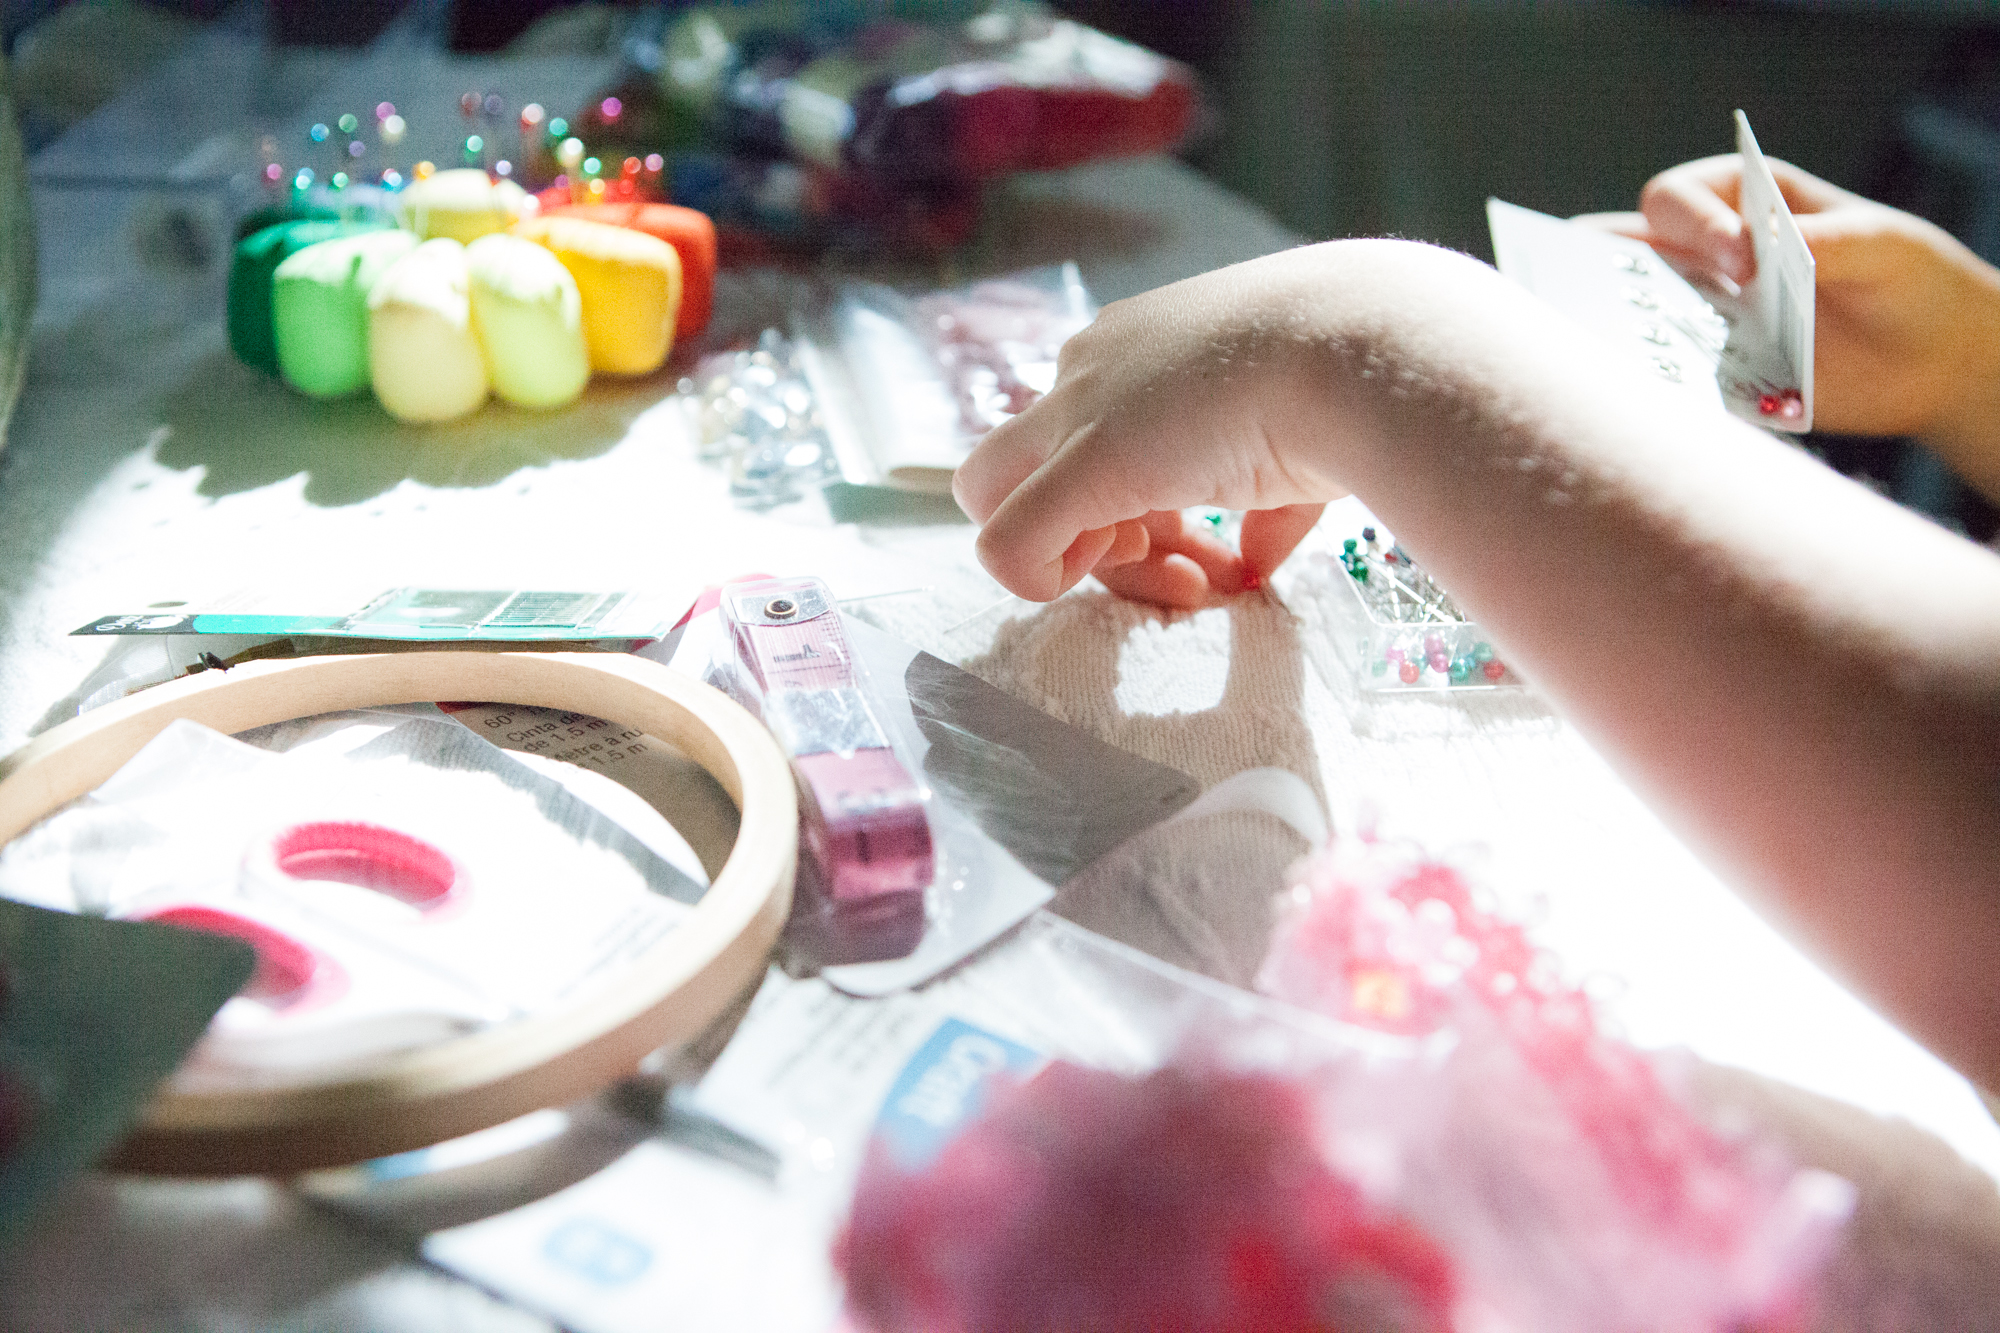
While I worked out the patterns, she played with her sewing basket.


She had to go home but I continued working on the dress. First I made the underskirt from a lovely ruffle fabric. I also drew out the pattern for the throne based on her sketch and Grandpa cut it out and nailed it together.

She couldn’t part with her doll and took it home so I had to use my own doll for fittings.
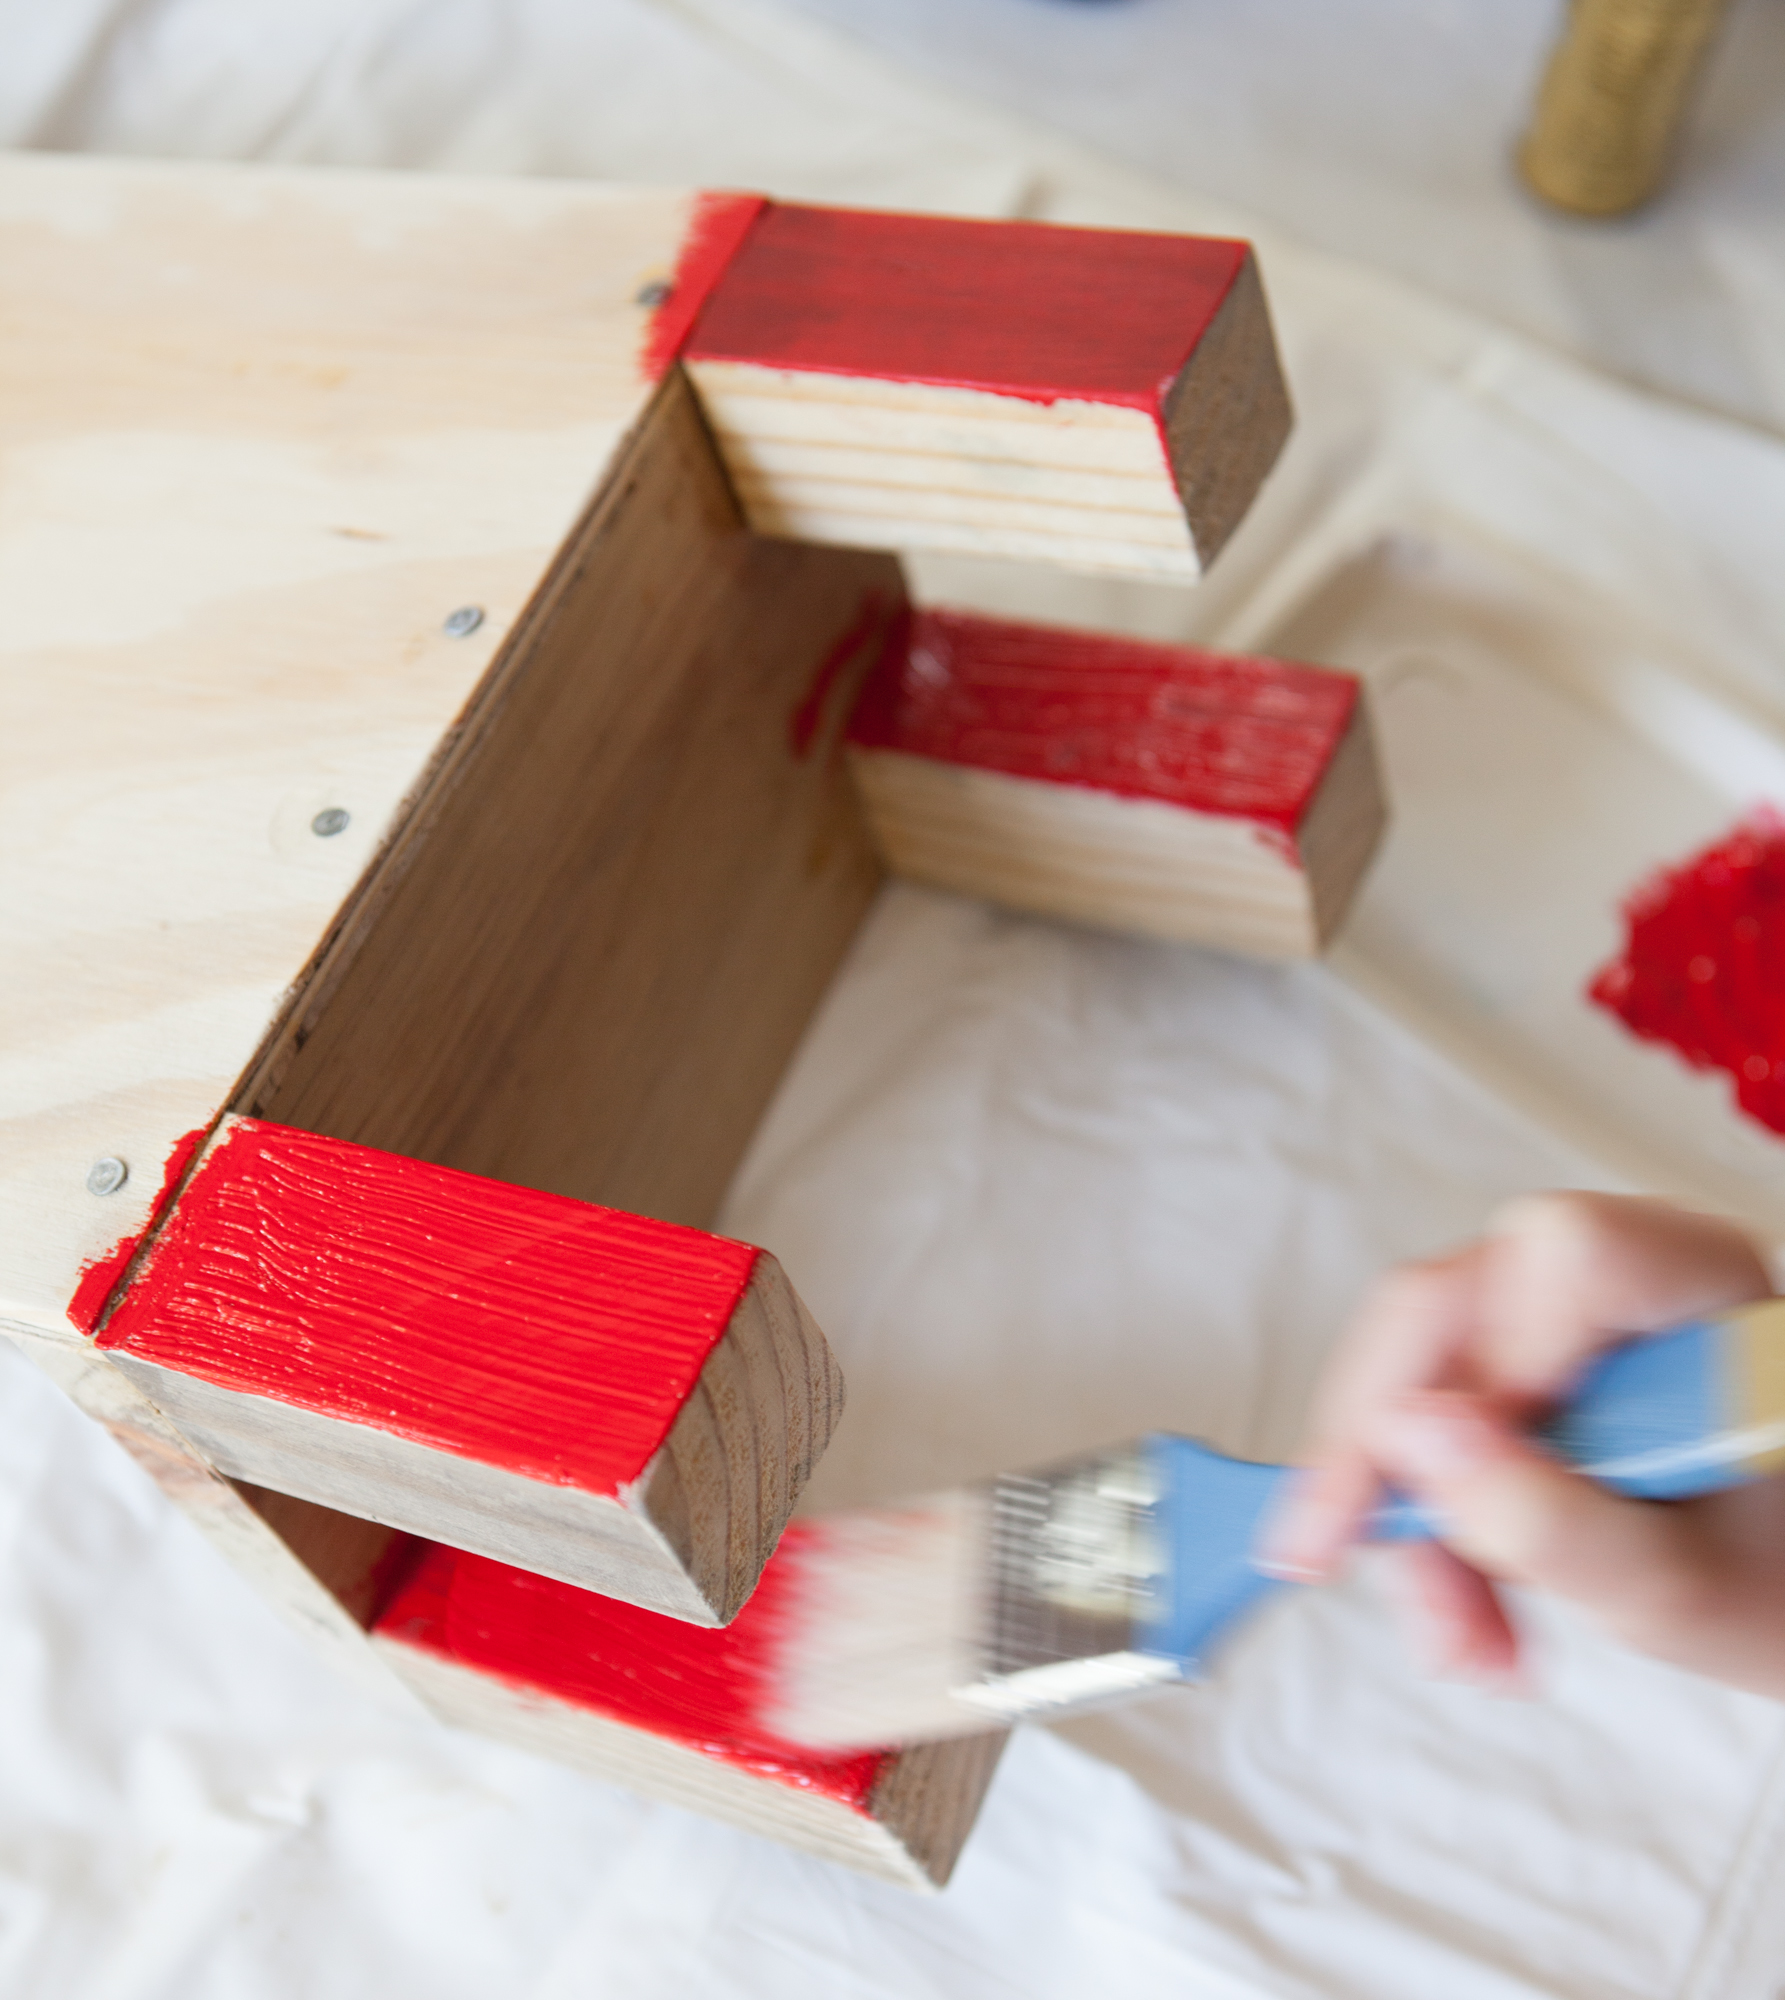
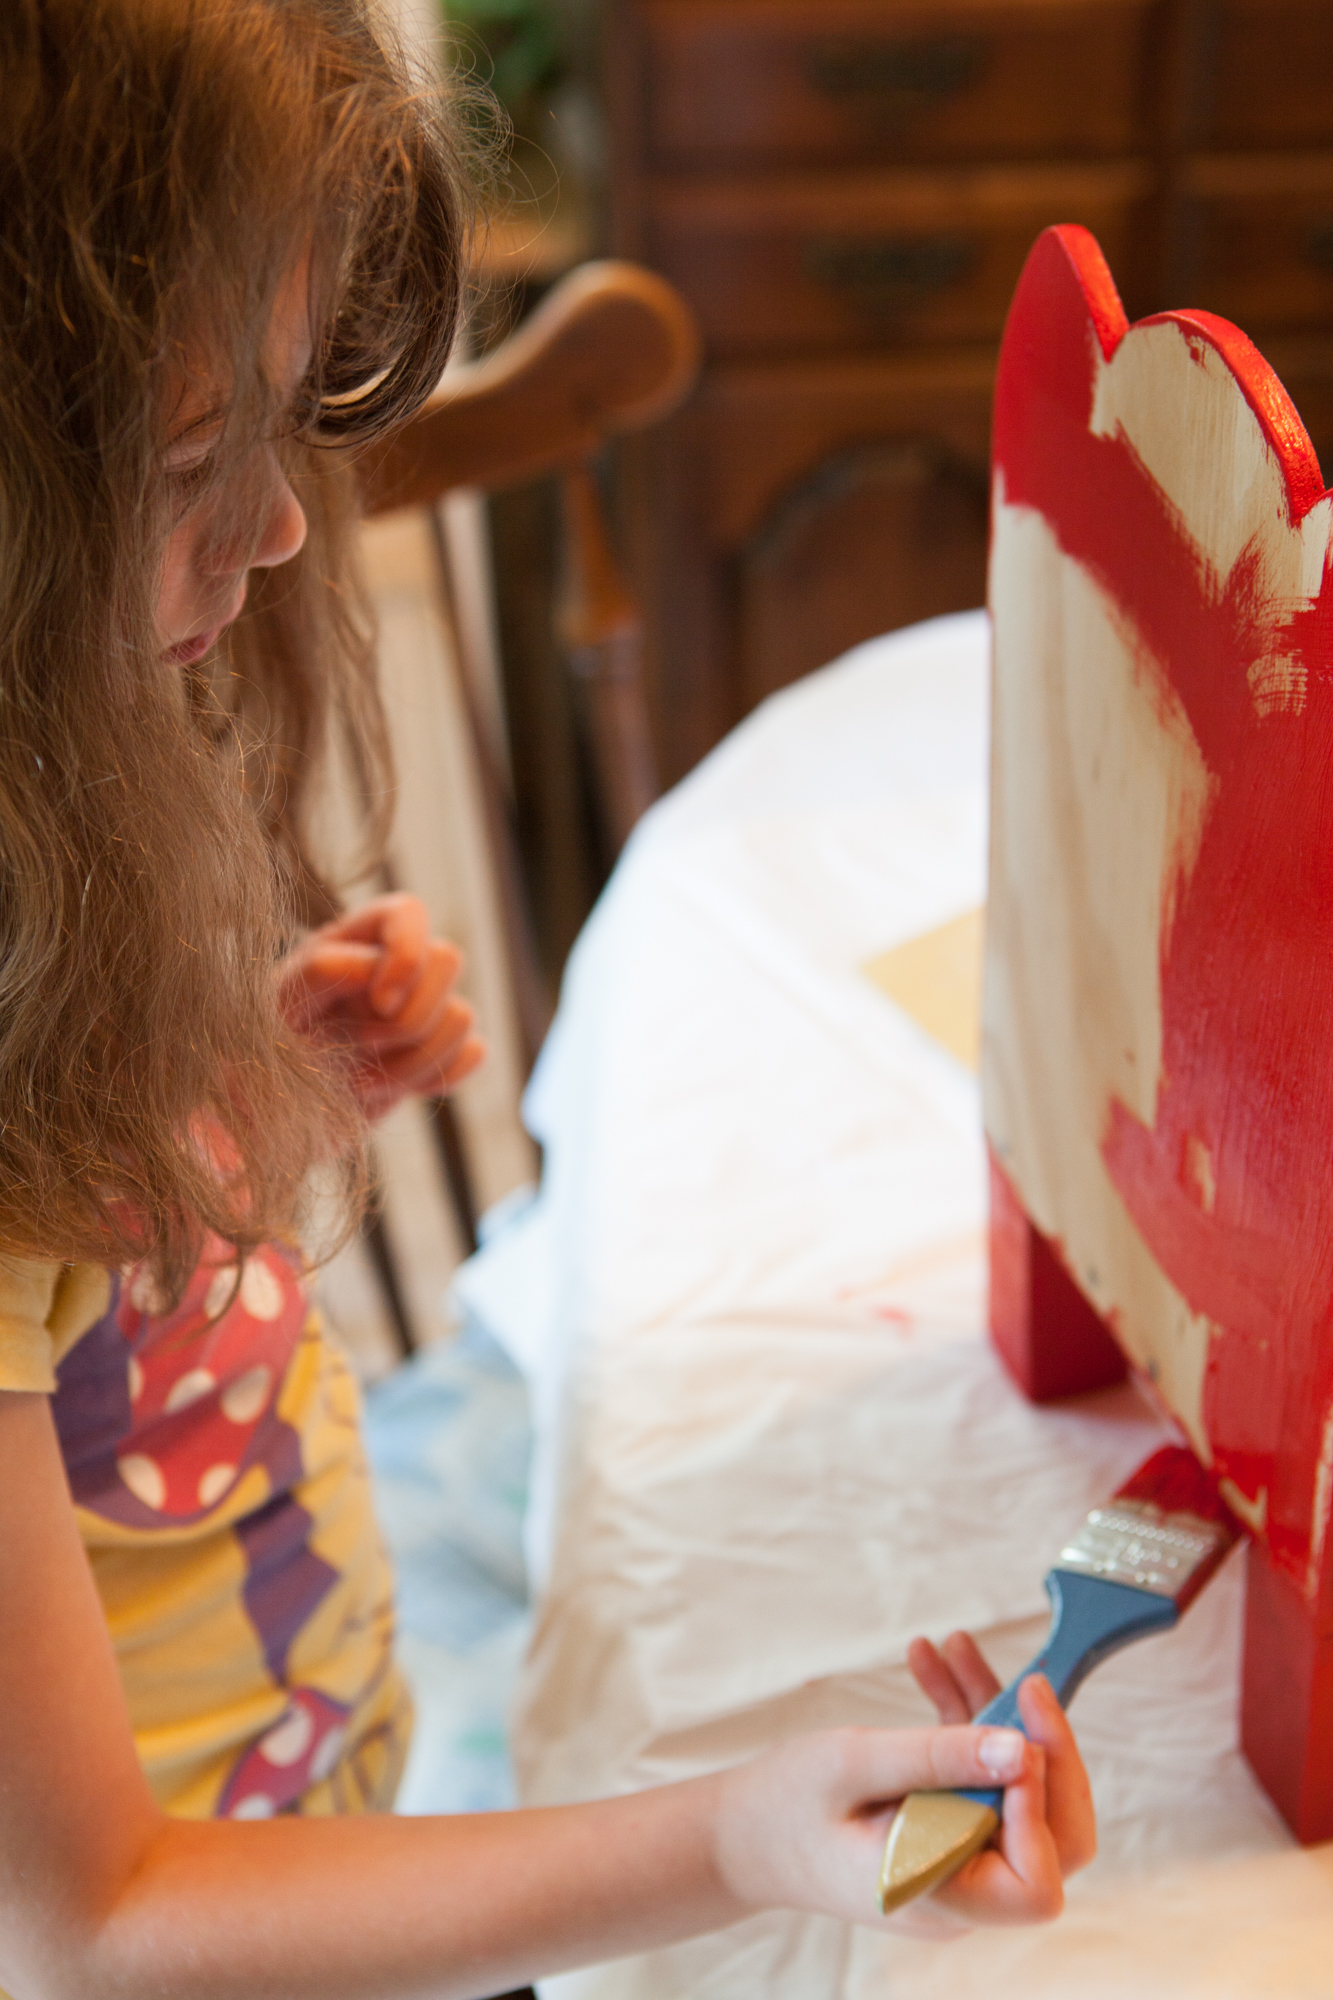
She visited several times while I worked on the dress. It took a while to make because I was baffled by the construction. It would have been easy to stitch on the doll but I was making a garment that would withstand a little girl’s playing, complete with snaps. I wish I had taken photos of the construction. While I worked on the dress, she painted the throne and she told me more about the dress.

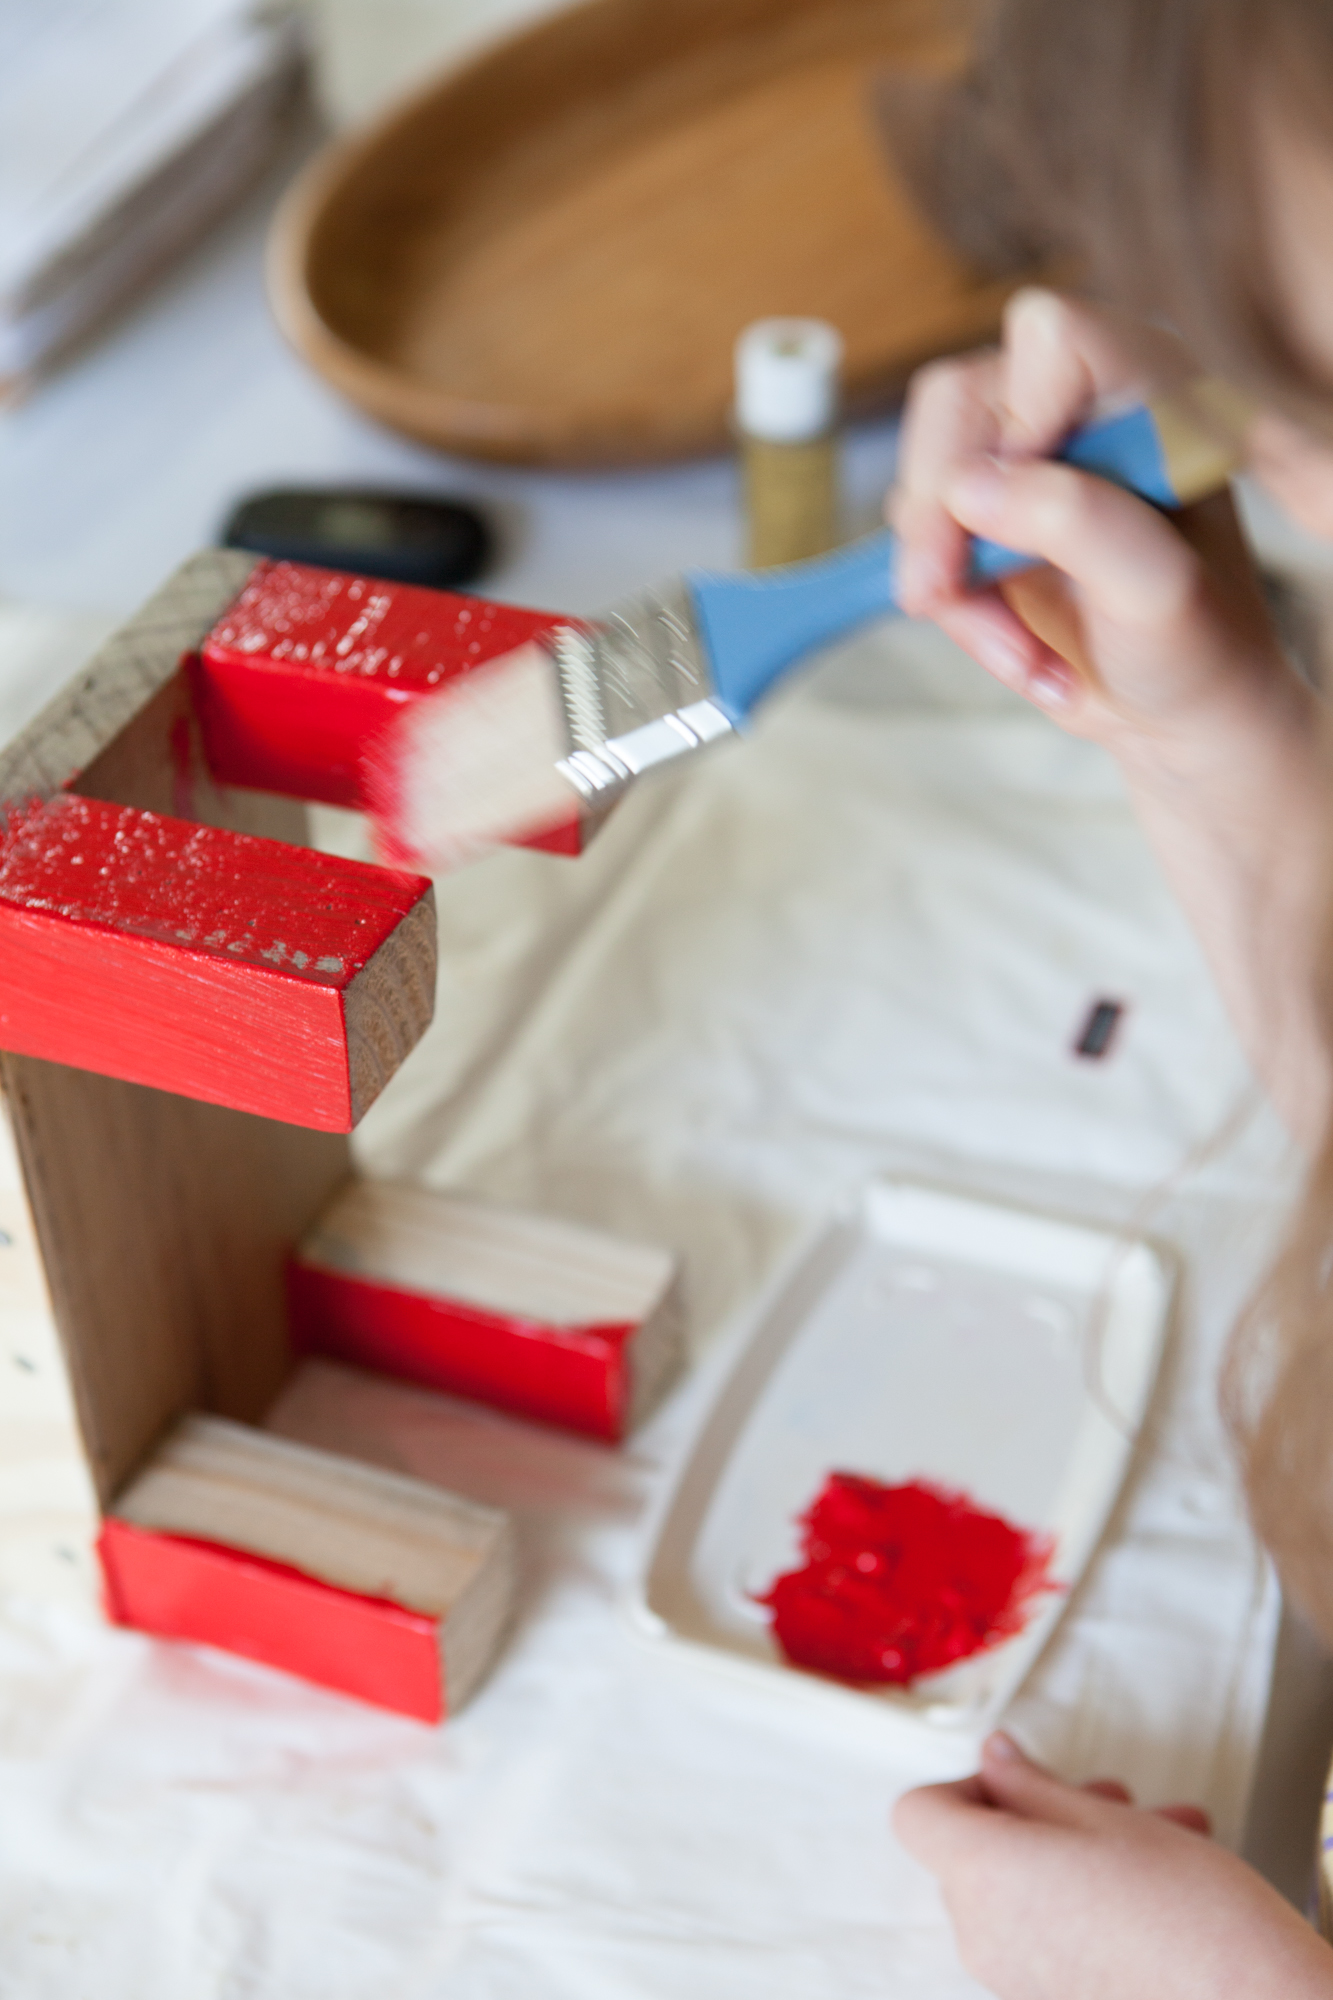
Painting the doll throne.

“The skirt is pointy on the sides,” she said. “That’s what makes it pretty!”

We finally used up the two old bottles of acrylic paint. That was the very last of the red paint!
“I love the hearts on the purple part. But that’s ok that they aren’t on my sketch. But I can add them if I want to.”

Now we just have to add the tufted cushions.
We still have to upholster the throne and make the crown. She picked out the fabric for the throne but I have buy little black buttons so we can properly tuft it. Or perhaps we’ll paint brads black. In the meantime, I finished the dress.
She loves it!
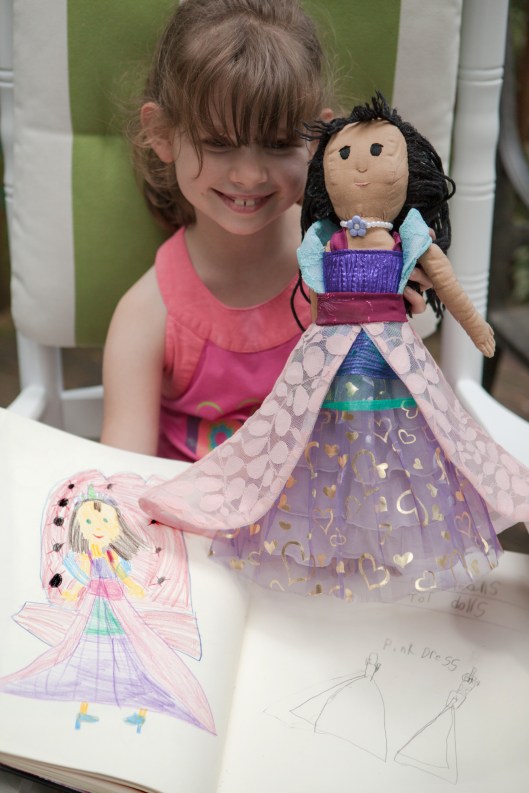
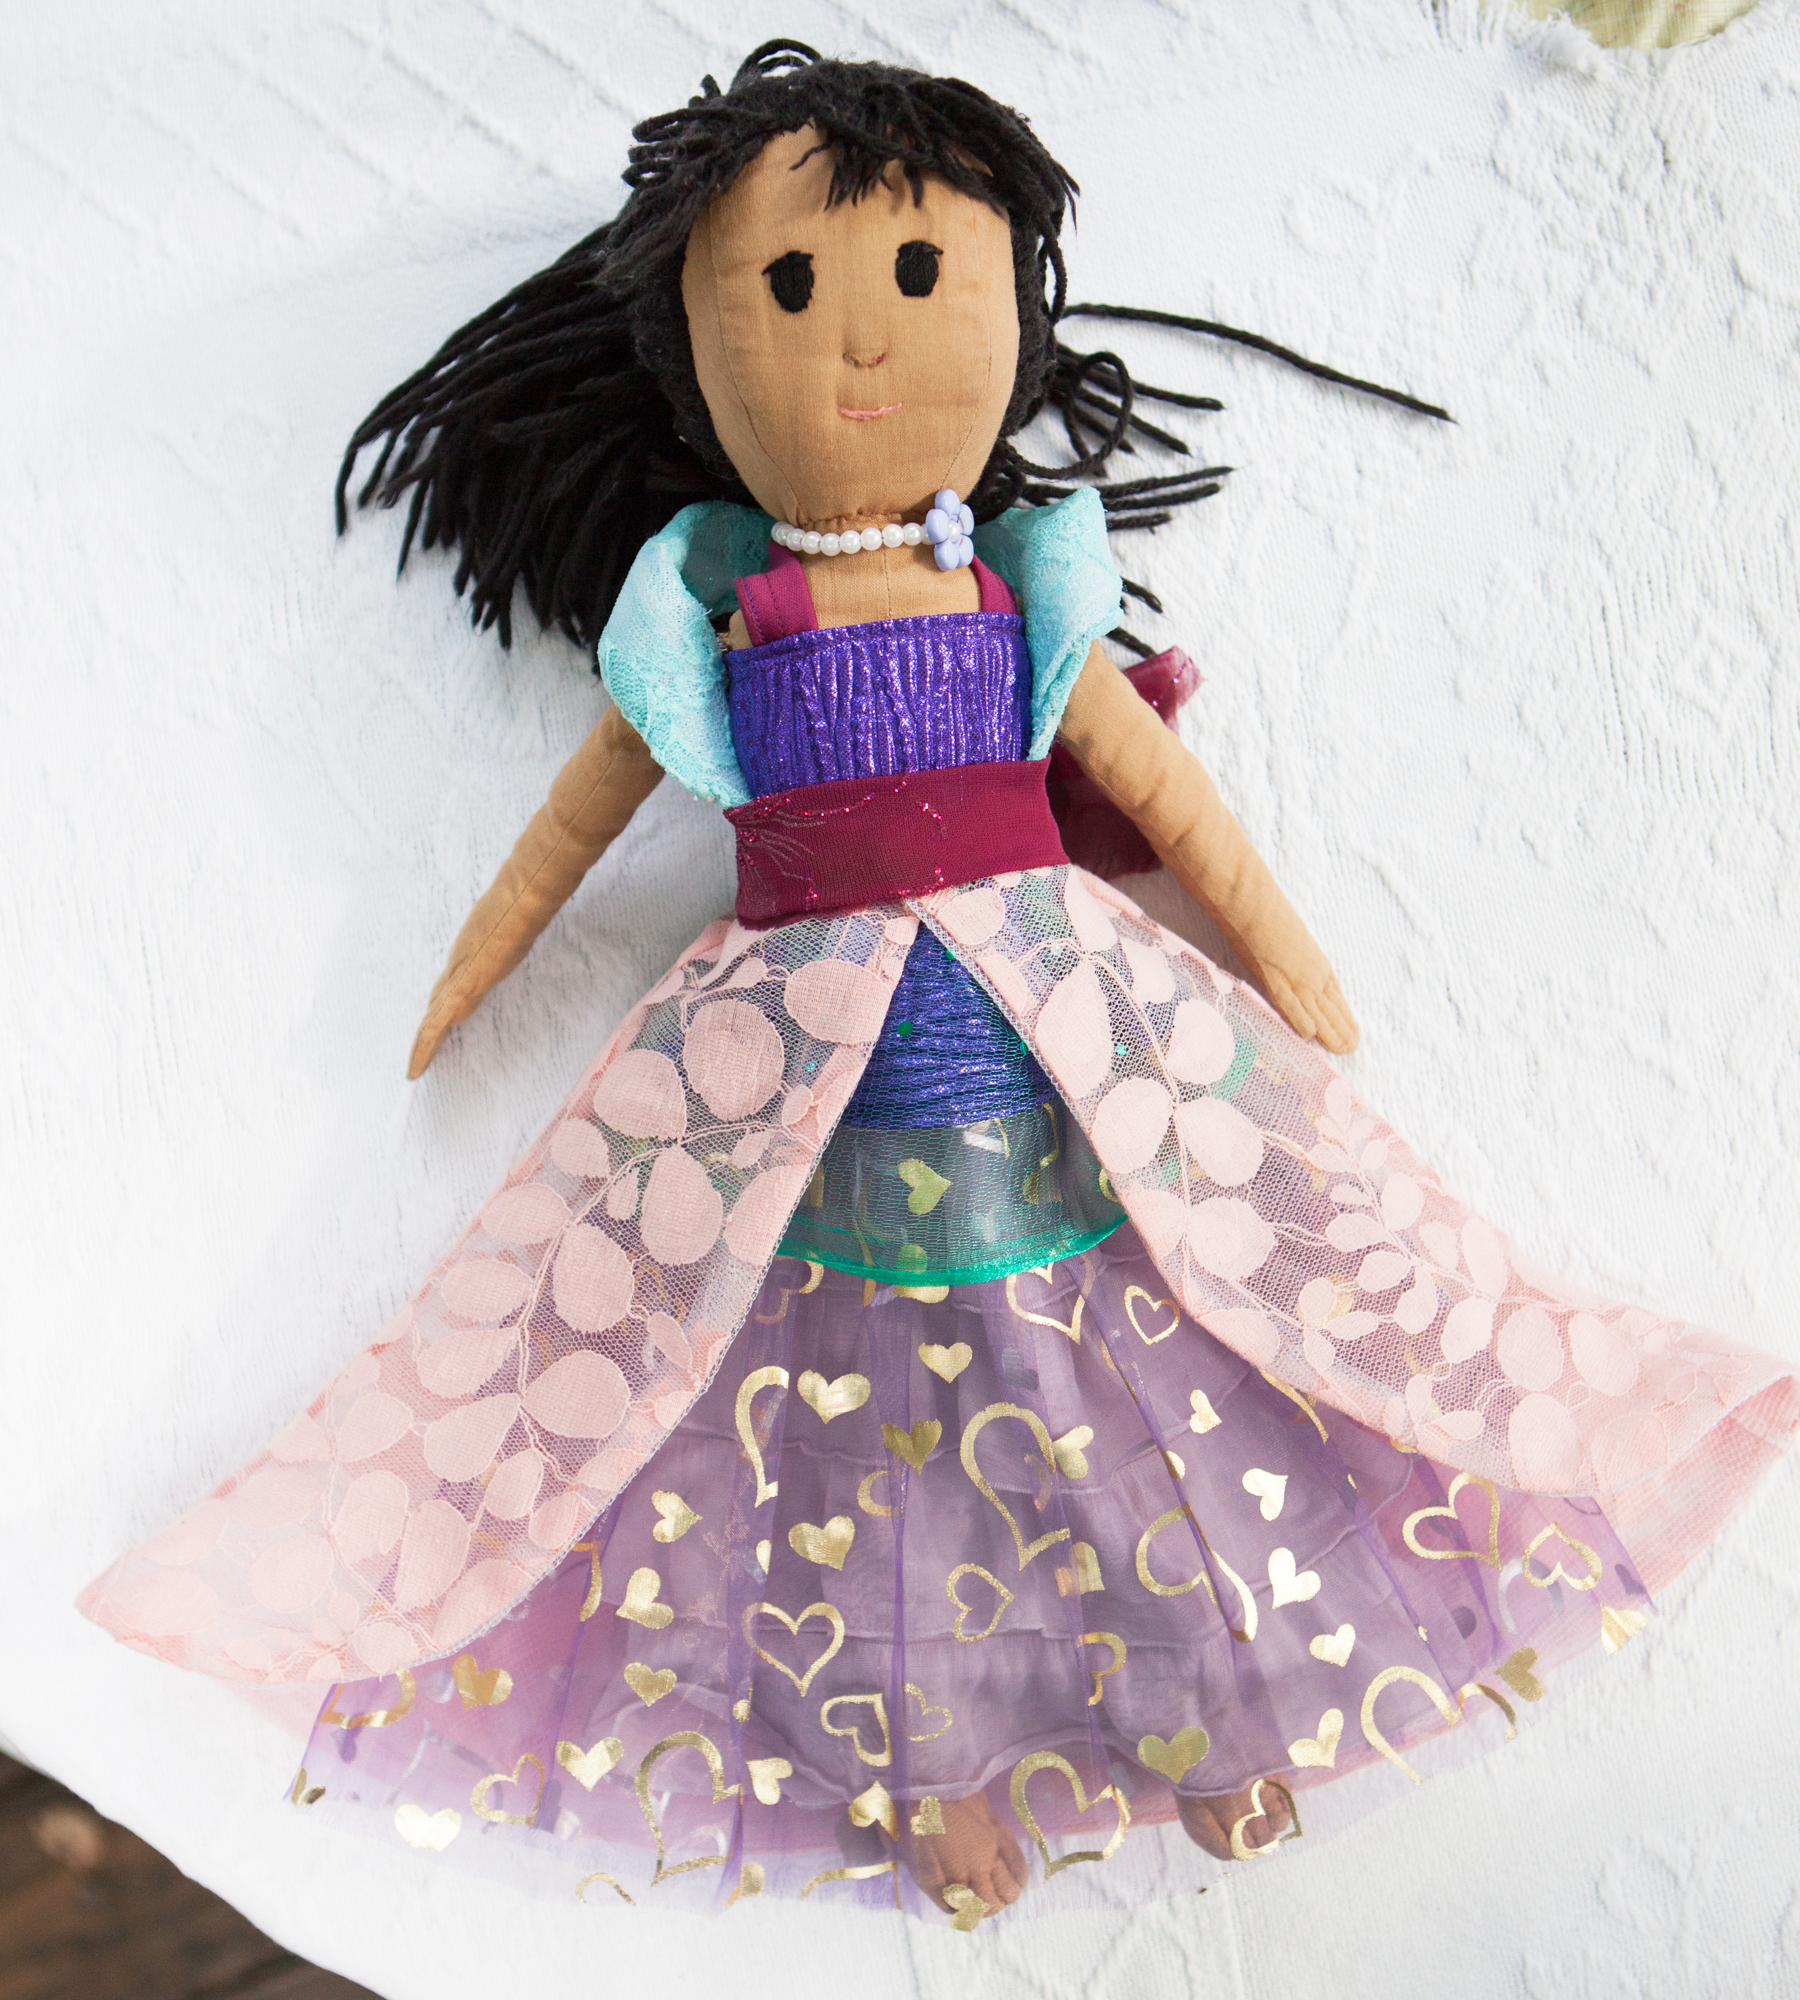
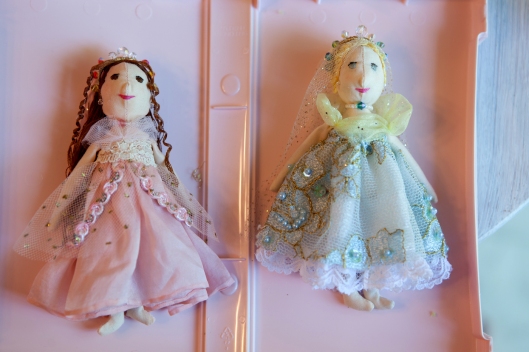
The Princess doll dress is finished! She loves it! The design and colors are all her own, inspired by the sketch in her sketchbook.
The Princess Dress turned out exactly like she envisioned!

There are four separate pieces: The lavender underskirt, the dress with bodice and purple and green sheer layers and stiff aqua collar sewn in the side seams, the outer pink lace skirt that snaps in front, and the wide burgundy sash.
I decided to pleat the sheer purple layer instead of gathering. Unknown to me, the little lines she drew on her sketch were pleats! I didn’t understand her explanation of them so she’s thrilled that I figured it out. Yay!

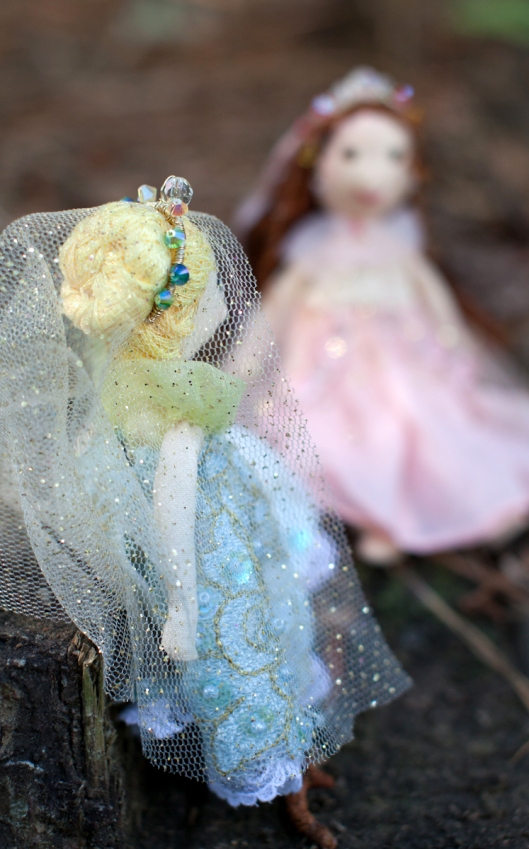
The outer lace layer is fairly stiff and sticks out just like she hoped. Click on the image to see it larger.
The back is just a little puffy, precisely the way she wanted it, and the aqua collar is one piece that is attached at the sides and loose across the back. I stitched wires and horsehair braid in the collar so it keeps shape. To get the dress on, the collar is slipped over the doll’s head. Then the back is closed with three snaps.

Princess doll dress back.
It was important to match the colors in the sketch. But even more important were the “points on the side, to make it pretty.” To make the “points” on the side, the outer pink lace layer is made of three pieces, seamed at the side. It is lined with netting, with horsehair braid at the hem to keep the edge stiff all the way around.

After seeing how adorable this dress turned out, using colors and fabrics I never would have thought combine so splendidly, I can’t wait to see what else my granddaughter designs. I love her style!

Princess doll dress
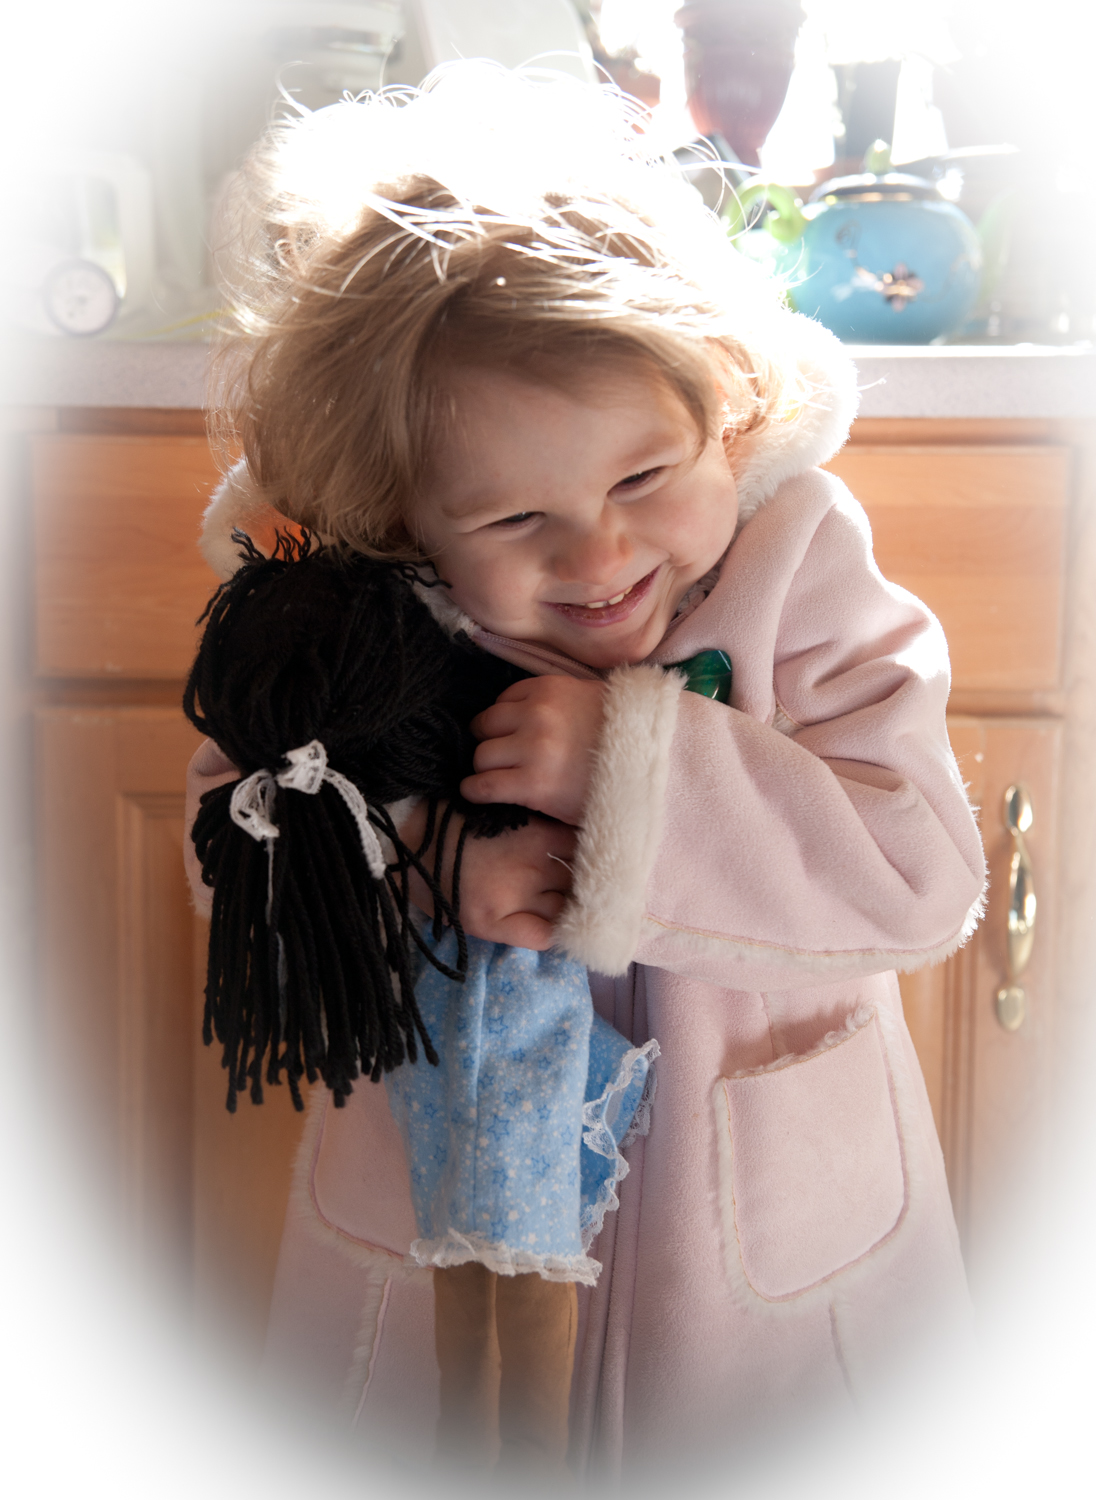
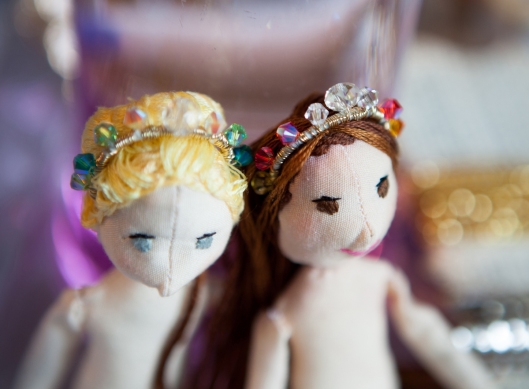
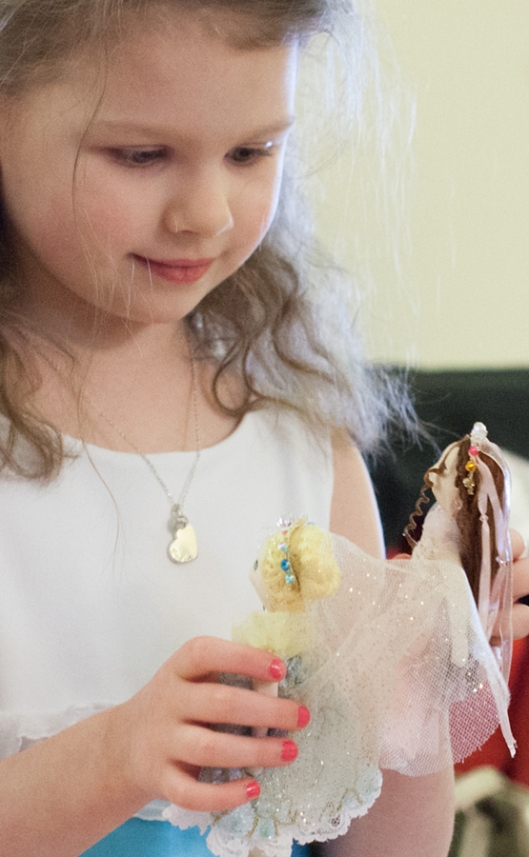
Loving her dolly the Christmas I gave it to her.

Loving her dolly the Christmas I gave it to her.
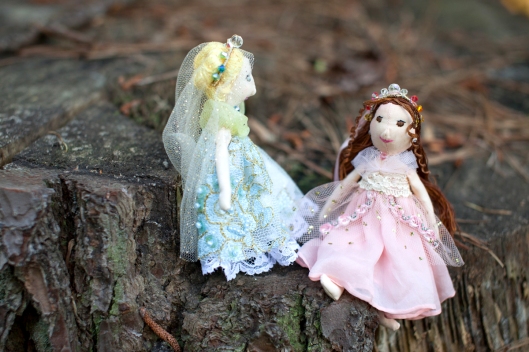
And still loving her doll four years later.


Still loving her dolly, four years later.